
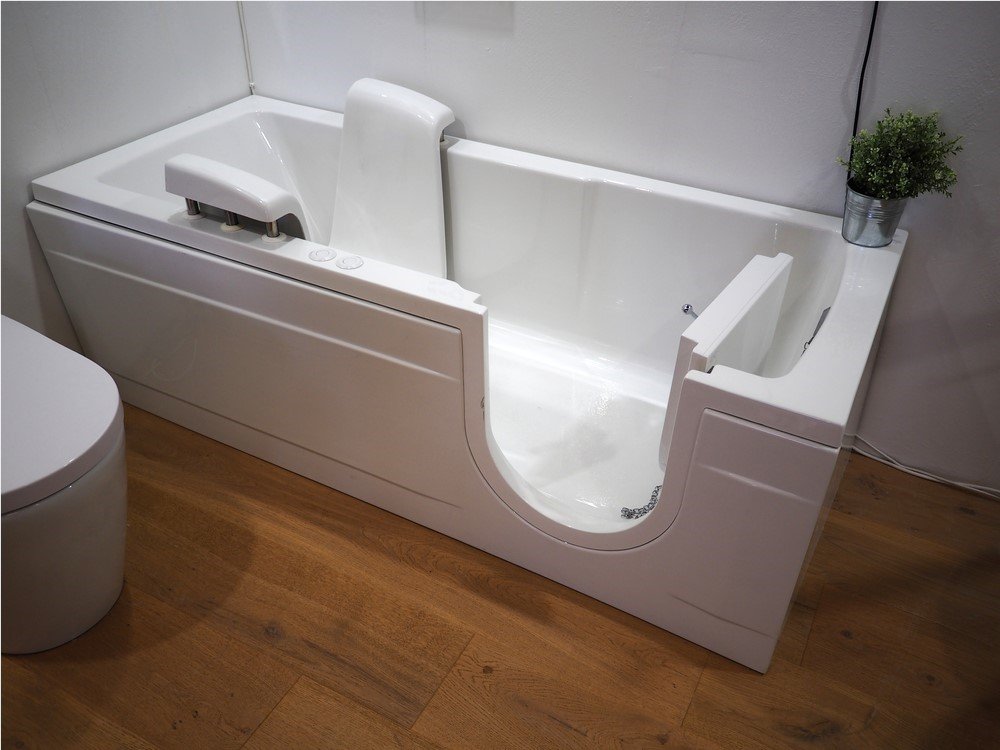
Properly leveling a walk-in tub is essential for both safety and long-term performance. An uneven tub can lead to leaks, door misalignment, and even structural damage over time. Whether you’re a professional installer or a homeowner tackling a bathroom upgrade, understanding how to level a walk-in tub during installation ensures the fixture remains stable and secure for years to come.
This article provides step-by-step guidance on achieving a stable, level installation, highlights common pitfalls, and explains why attention to detail at this stage is so important. We’ll also cover the tools you’ll need, how to check your work, and what to do if your floor is uneven. For those interested in related topics, you may also want to learn about walk-in tub frame construction types to better understand the structure supporting your tub.
Why Leveling Matters for Walk-In Tub Installations
Ensuring your walk-in tub is perfectly level is about more than just aesthetics. A tub that isn’t level can cause:
- Water leakage at the door or around the base
- Improper drainage, leading to standing water
- Stress on the tub frame and plumbing connections
- Difficulty opening and closing the door
- Potential safety hazards for users
For those who require additional safety features, understanding walk-in shower grab bar weight ratings can further enhance bathroom accessibility and security.
Tools and Materials Needed
Before starting, gather the following tools and supplies to make the process smoother:
- 4-foot or longer spirit level (bubble level)
- Shims (composite or plastic preferred for wet environments)
- Adjustable wrench and screwdriver
- Measuring tape
- Pencil or marker
- Construction adhesive (if recommended by the manufacturer)
- Protective gloves and eye protection
Preparing the Installation Area
Start by ensuring the subfloor is clean, dry, and free of debris. Remove any old caulking, adhesives, or protruding nails. If the floor is significantly uneven, consider using a self-leveling compound before proceeding. This step is crucial for achieving a stable base and preventing future issues.
Positioning and Initial Level Check
Carefully move the walk-in tub into its intended position. Most tubs are heavy, so enlist help to avoid damaging the unit or injuring yourself. Once in place, use your spirit level to check both the length (front to back) and width (side to side) of the tub. Place the level on the rim or designated leveling surfaces as specified by the manufacturer.
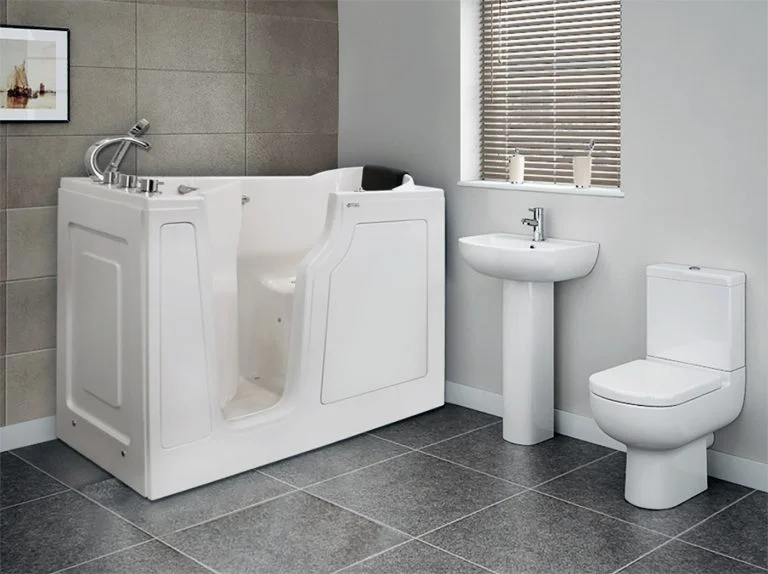
How to Level a Walk-In Tub During Installation: Step-by-Step
-
Check the Floor
Use your level to assess the subfloor. If there are dips or high spots, address them before proceeding. For minor unevenness, shims can be used during the next steps. -
Set the Tub in Place
Gently lower the tub into position, aligning it with the plumbing rough-ins and the wall studs. Make sure the drain lines up correctly. -
Level Side-to-Side and Front-to-Back
Place the level on the tub’s rim, first from left to right, then front to back. If the bubble is not centered, identify which corners are high or low. -
Insert Shims as Needed
Slide composite or plastic shims under the tub’s feet or base at the low points. Avoid using wood, as it can absorb moisture and deteriorate. Adjust until the tub is perfectly level in both directions. -
Secure the Tub
Once level, fasten the tub to the wall studs using the manufacturer’s recommended brackets or screws. Double-check the level after securing, as tightening fasteners can sometimes shift the tub slightly. -
Seal and Test
Apply construction adhesive or caulk where specified. Fill the tub with water and check for leaks or movement. If the tub shifts, adjust the shims and retighten the fasteners.
Addressing Common Installation Challenges
Older homes or bathrooms with sloped floors can make leveling more difficult. If the floor is significantly out of level, a self-leveling underlayment may be necessary. Always follow the tub manufacturer’s instructions for shimming and securing the unit. For more on seasonal care, see our guide on how to winterize a walk-in tub.
Tips for Ensuring Long-Term Stability
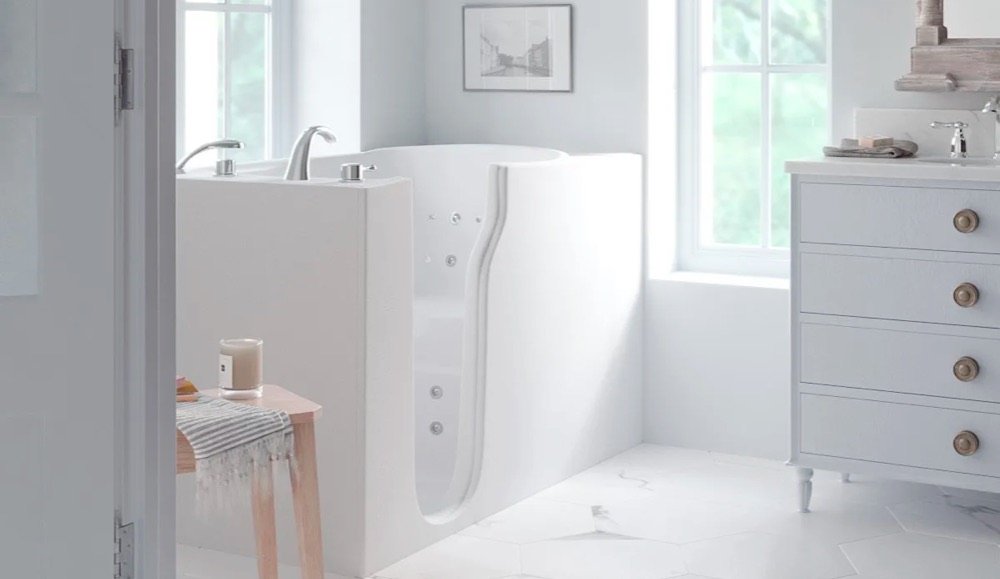
- Recheck the level after filling the tub with water, as weight can shift the base slightly.
- Inspect shims periodically to ensure they haven’t compressed or shifted.
- Use only manufacturer-approved fasteners and adhesives.
- Seal all joints and seams to prevent water infiltration.
- Consider dual drainage systems for faster water removal and added safety. Learn more about walk-in tub dual drainage systems.
Comparing Walk-In Tubs and Showers for Aging in Place
If you’re deciding between a walk-in tub and a walk-in shower, it’s important to consider both installation requirements and long-term usability. For a detailed comparison, see this guide to walk-in baths versus walk-in showers for aging in place. Both options require careful leveling, but tubs are especially sensitive to even minor floor imperfections.
Frequently Asked Questions
What happens if my walk-in tub isn’t perfectly level?
An unlevel tub can cause water to pool, leaks at the door, and even structural damage over time. It may also make the door difficult to operate and reduce overall safety.
Can I use wood shims to level my tub?
It’s best to avoid wood shims in wet environments, as they can absorb moisture and deteriorate. Use composite or plastic shims for long-lasting support.
How do I know if my floor needs to be leveled before installing a walk-in tub?
Check the subfloor with a long spirit level. If you notice significant dips or slopes, use a self-leveling compound or consult a professional before proceeding with the installation.
Conclusion
Taking the time to ensure your walk-in tub is level during installation is a crucial step for safety, performance, and peace of mind. By following the steps outlined above and using the right tools and materials, you can achieve a secure, stable, and long-lasting result. For more information on enhancing bathroom safety, explore topics like walk-in shower slip-resistant coatings and other accessibility upgrades.