
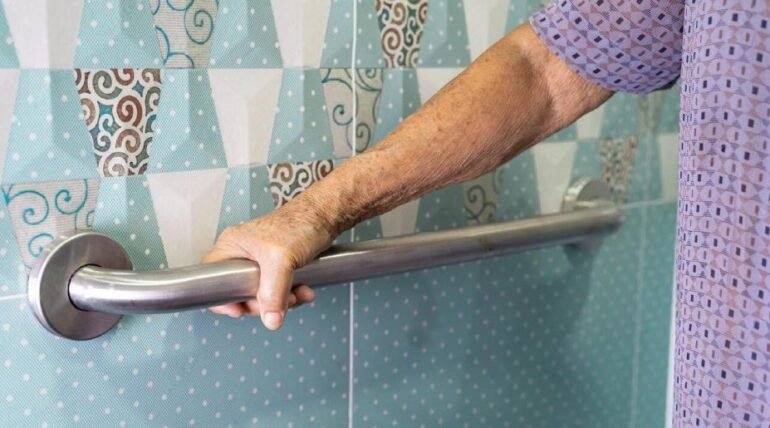
Designing a bathroom that supports independent living is essential for anyone with limited mobility, seniors wishing to age in place, or families preparing for future accessibility needs. A well-thought-out space can reduce fall risks, increase comfort, and help maintain dignity and autonomy. This article explores practical strategies for creating mobility friendly bathroom layouts that make daily routines safer and easier.
Whether you’re planning a full remodel or making targeted upgrades, understanding the key elements of accessible design is the first step. Early consideration of grab bars, clearances, and fixture placement can make a significant difference. For a broader perspective on home modifications, the aging in place home improvement checklist offers a comprehensive overview of essential changes for safer living environments.
Core Principles of Accessible Bathroom Design
Effective mobility friendly bathroom layouts are built around a few core principles. These include:
- Clear and wide pathways: Ensure at least 36 inches of clearance for wheelchairs or walkers to move freely.
- Non-slip surfaces: Choose flooring materials with good traction to help prevent slips and falls.
- Lever-style handles: Replace traditional knobs with levers for faucets and doors, which are easier to operate with limited grip strength.
- Strategic fixture placement: Position toilets, sinks, and showers for easy access, minimizing unnecessary movement.
Incorporating these principles creates a foundation for safety and independence. For more on the impact of these changes, see the resource on bathroom accessibility upgrades that make a difference.
Optimizing Space for Mobility Aids
One of the most important aspects of accessible bathrooms is ensuring there’s enough space for mobility aids such as wheelchairs, walkers, or transfer benches. Consider these layout tips:
- Open floor plans: Remove unnecessary cabinetry or partitions to maximize maneuvering space.
- Curbless showers: A zero-threshold shower allows for roll-in access and reduces tripping hazards.
- Wall-mounted sinks: These provide knee clearance for wheelchair users and free up floor space.
- Accessible storage: Place shelves and cabinets within easy reach, ideally between 15 and 48 inches from the floor.
Careful planning ensures that mobility aids can be used without obstruction, making daily routines smoother and safer.
Essential Safety Features for Independent Living
Safety is at the heart of any accessible bathroom. The following features are crucial for reducing risks and supporting self-sufficiency:
- Grab bars: Install sturdy grab bars near toilets, showers, and tubs. These provide support during transfers and help prevent falls.
- Raised toilet seats: Higher seats make it easier to sit and stand, especially for those with joint pain or limited strength.
- Toilet safety rails: These add stability and confidence when using the toilet.
- Handheld showerheads: Adjustable showerheads allow users to bathe while seated or standing.
- Shower benches: Provide a safe place to sit while bathing, reducing fatigue and fall risk.
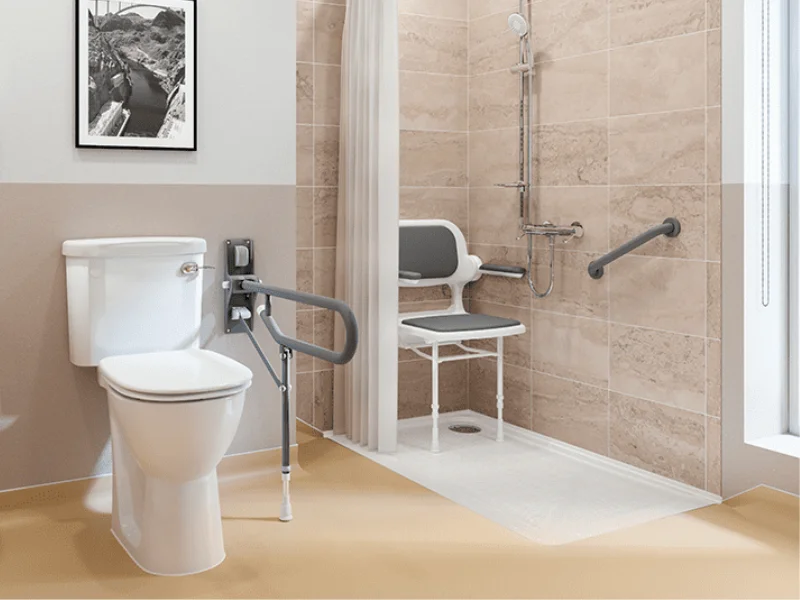
For a deeper look at how these features support senior safety, the article on senior independence and bathroom safety provides valuable insights.
Shower and Tub Accessibility Solutions
Bathing areas are common sites for slips and falls. Adapting showers and tubs is a key part of mobility friendly bathroom layouts. Consider these options:
- Walk-in showers: Eliminate barriers with a level entry, making it easy for wheelchairs or walkers to enter.
- Built-in seating: Permanent benches or fold-down seats offer a secure place to sit while showering.
- Anti-scald valves: These prevent sudden changes in water temperature, reducing burn risks.
- Textured tiles: Use slip-resistant tiles on floors and in shower areas for added safety.
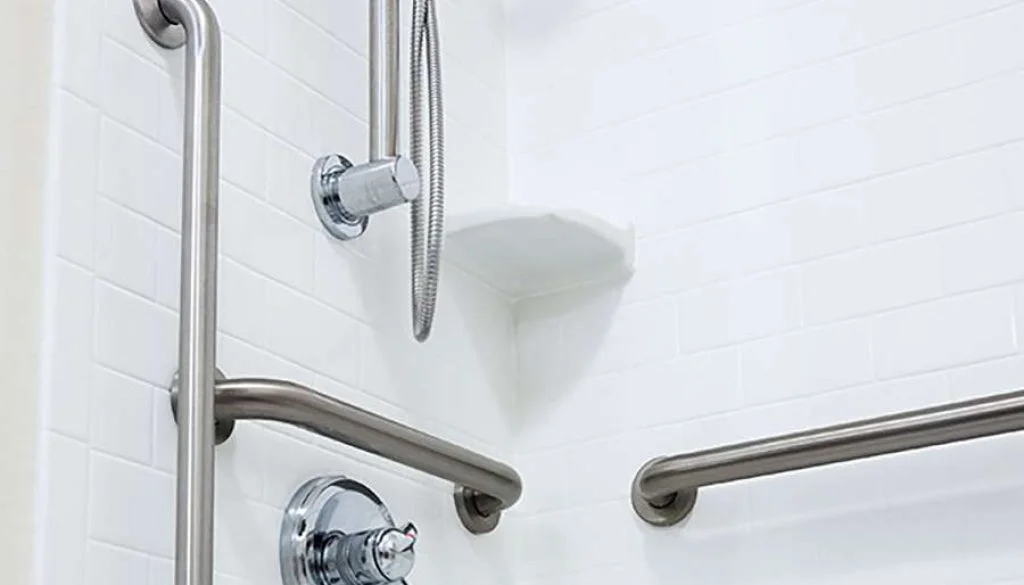
Adding these features can transform a standard bathroom into a safe, comfortable space for everyone. For more on reducing risks, review the guide on understanding fall risks in older adults.
Grab Bars: Placement and Best Practices
Grab bars are one of the most effective ways to enhance safety in bathrooms. Proper placement is critical:
- Beside the toilet: Install horizontally or at an angle for support when sitting or standing.
- In the shower: Place vertically at the entry and horizontally along the wall for stability.
- Near the tub: Position bars where users enter and exit the bath.
Choose bars that are securely anchored into wall studs and have a textured grip. For a detailed discussion on their benefits, see how bathroom grab bars enhance senior safety and mobility.
Lighting and Visibility Improvements
Good lighting is essential for safe navigation. Consider these upgrades:
- Bright, even lighting: Use LED fixtures to eliminate shadows and improve visibility.
- Night lights: Install motion-activated lights for safe nighttime trips.
- Contrasting colors: Use contrasting tiles or paint to highlight edges and fixtures, aiding those with visual impairments.
These changes help prevent accidents and make the space more user-friendly for everyone.
Planning for Future Needs
Even if mobility is not currently an issue, planning ahead can save time and money. Consider “universal design” principles that make bathrooms usable by people of all ages and abilities. Features like reinforced walls for future grab bar installation, adjustable showerheads, and wide doorways can be added during renovations to accommodate changing needs over time.
For a holistic approach to accessibility, the article on improving quality of life through accessibility highlights the benefits of proactive planning.
Frequently Asked Questions
What is the minimum recommended space for a wheelchair-accessible bathroom?
A wheelchair-accessible bathroom should have a minimum clear floor space of 60 inches in diameter to allow for a full 360-degree turn. Doorways should be at least 32 inches wide, and pathways should remain unobstructed.
How do I choose the right grab bars for my bathroom?
Look for grab bars that are ADA-compliant, made from durable materials, and have a non-slip surface. They should be installed into wall studs for maximum support. Placement should be based on the user’s needs and the specific areas where support is required.
Are there affordable ways to make my bathroom more accessible?
Yes, several cost-effective upgrades can improve accessibility. Adding non-slip mats, installing removable grab bars, using a raised toilet seat, and swapping out faucet handles for levers are all budget-friendly options. For more ideas, explore resources on bathroom accessibility upgrades that make a difference.
Thoughtful planning and the right features can make a significant difference in safety and comfort. By focusing on mobility friendly bathroom layouts, you can create a space that supports independence and peace of mind for years to come.