
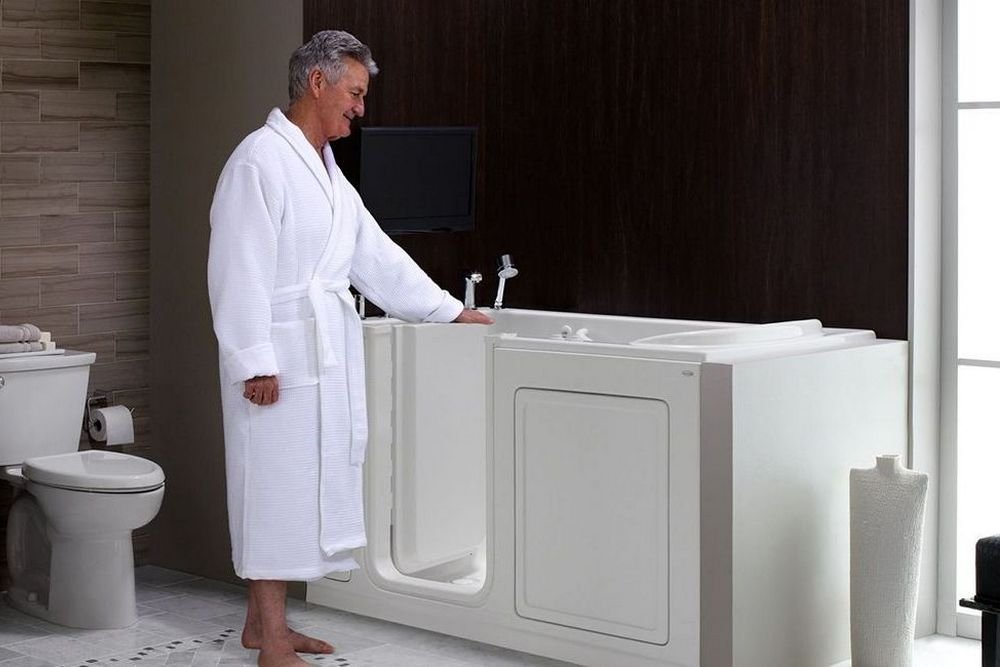
Maintaining a comfortable water temperature is essential for anyone using a walk-in bathtub, especially for those who rely on these tubs for therapeutic or accessibility reasons. If you’ve noticed your bathwater cooling off too quickly, improving your tub’s insulation can make a significant difference. This guide explains practical steps and considerations for how to insulate a walk-in bathtub to maximize warmth, comfort, and energy efficiency.
Proper insulation not only helps retain heat but can also reduce energy costs and extend the life of your tub. Whether you’re planning a DIY upgrade or considering professional help, understanding the basics of bathtub insulation will help you make informed decisions. If you’re also interested in optimizing other aspects of your walk-in tub, such as minimizing noise, check out our resource on how to troubleshoot walk-in tub jet noise.
Why Insulation Matters for Walk-In Bathtubs
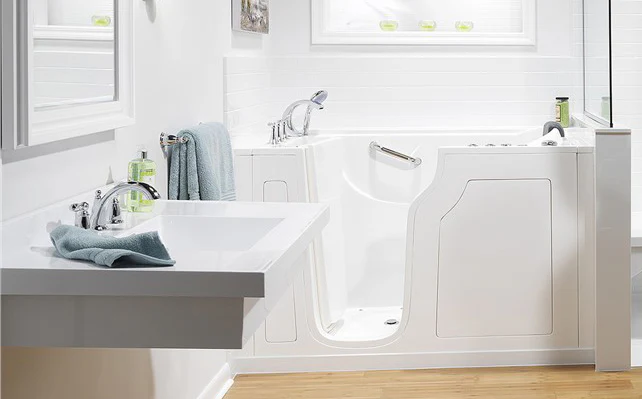
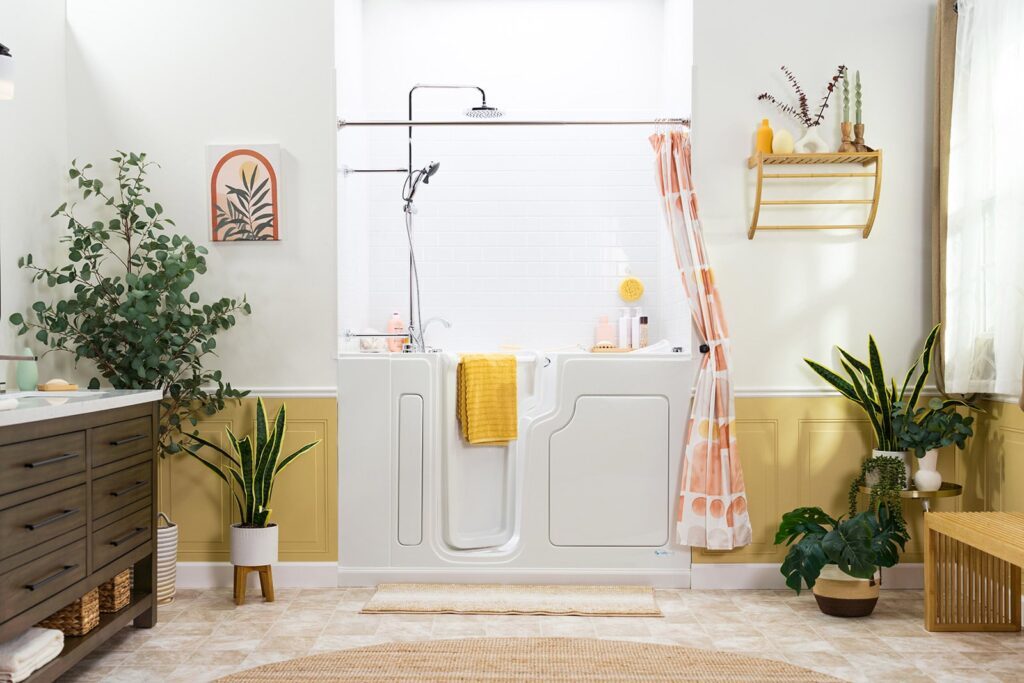
Walk-in tubs are designed for safety and accessibility, but their larger surface area and unique installation can sometimes lead to faster heat loss compared to standard bathtubs. Insulating your tub helps:
- Maintain water temperature for longer, allowing for more relaxing and therapeutic soaks.
- Reduce energy consumption by minimizing the need to add hot water during use.
- Prevent condensation and moisture buildup around the tub, which can help avoid mold and mildew.
- Enhance comfort, especially for those with mobility issues or sensitive skin.
Many modern walk-in tubs come with some built-in insulation, but additional measures can further improve performance, especially in colder climates or older homes.
Assessing Your Walk-In Tub’s Current Insulation
Before starting any upgrades, it’s important to evaluate your tub’s existing insulation. Remove the access panels or inspect the area around the tub skirt to check for:
- Visible foam or fiberglass insulation surrounding the tub shell
- Gaps or exposed plumbing where heat might escape
- Signs of moisture or drafts near the tub base
If you notice little to no insulation or areas where cold air can enter, it’s a good indication that improvements are needed. For those interested in additional safety features, you might also want to read about walk-in tub suction safety features to ensure your bathing environment is as secure as it is comfortable.
Choosing the Right Insulation Materials
When considering how to insulate a walk-in bathtub, selecting the right materials is crucial. The most common options include:
- Spray foam insulation: Expands to fill gaps and provides excellent thermal resistance. It’s ideal for hard-to-reach spaces around the tub shell and plumbing.
- Fiberglass batts: Widely available and cost-effective, fiberglass is easy to cut and fit around the tub’s exterior. Ensure it’s properly covered to prevent moisture absorption.
- Rigid foam boards: Offer high insulating value and can be cut to size for larger flat areas behind or beneath the tub.
- Reflective insulation: Thin layers with reflective surfaces can be added behind the tub to reflect radiant heat back into the water.
Always use materials rated for bathroom use to prevent mold and mildew. If you’re unsure, consult a professional installer or refer to manufacturer guidelines for your specific tub model.
Step-by-Step Guide to Insulating Your Walk-In Tub
Follow these steps to improve your tub’s heat retention:
- Turn off water and power to the tub, especially if it has jets or electronic features.
- Remove access panels or the tub skirt to expose the area beneath and around the tub.
- Clean the area to remove dust, debris, or moisture before applying insulation.
- Apply insulation:
- For spray foam, carefully fill gaps around the tub shell, plumbing, and any exposed framing. Avoid blocking access to valves or drains.
- For fiberglass or foam boards, cut pieces to fit snugly and secure them in place, ensuring full coverage without compressing the material.
- Seal gaps with caulk or foam sealant, especially around plumbing penetrations and the tub base.
- Replace panels and restore power and water supply.
After insulation, test your tub for leaks and ensure all access points remain functional. If you have a tub with jets, you may also want to review walk-in tub foot massage jet benefits for additional comfort tips.
Additional Tips for Maximizing Heat Retention
Beyond physical insulation, there are several strategies to help your walk-in tub stay warmer for longer:
- Preheat the tub shell by running a small amount of hot water before filling the bath. This warms up the material and reduces initial heat loss.
- Use a tub cover or bath blanket while soaking to trap steam and minimize heat escape from the water’s surface.
- Seal bathroom drafts by checking windows, doors, and vents for air leaks that could cool the room and the tub.
- Upgrade your water heater if it struggles to maintain a consistent temperature for extended baths.
- Regular maintenance of your tub and plumbing ensures optimal performance and prevents issues that can affect heat retention.
For those interested in maintaining their entire bathing area, using specialized cleaning tools can also help. Learn more about the benefits of microfiber towels for walk-in showers for easy upkeep.
When to Call a Professional
While many insulation tasks can be handled by a confident DIYer, certain situations may require professional assistance:
- If your tub is built into a tight alcove or surrounded by tile or stonework
- If you notice persistent moisture or mold issues
- If your tub has complex plumbing or electrical systems
- If you’re unsure about local building codes or manufacturer warranties
A qualified installer can recommend the best insulation approach for your specific setup and ensure all work meets safety standards. For more information on accessible bathing solutions, you can also explore walk-in showers for older people for additional ideas.
Frequently Asked Questions
What type of insulation is best for walk-in bathtubs?
Spray foam and fiberglass batts are both effective for insulating around a walk-in tub. Spray foam is ideal for filling small gaps and hard-to-reach areas, while fiberglass is suitable for larger, accessible spaces. Always choose moisture-resistant materials rated for bathroom use.
Can I insulate my walk-in tub without removing it?
In most cases, you can add insulation by removing the access panels or skirt around the tub, without needing to uninstall the entire unit. This allows you to reach the exterior surfaces and plumbing for insulation application.
How much can insulation improve heat retention?
Properly insulating your walk-in tub can extend the time water stays warm by 15–30 minutes or more, depending on the materials used and the starting temperature. Combined with other heat-saving strategies, this can greatly enhance your bathing experience.
Conclusion
Improving the insulation of your walk-in bathtub is a practical way to enjoy warmer, longer baths and reduce energy waste. By assessing your current setup, choosing the right materials, and following step-by-step installation tips, you can significantly boost comfort and efficiency. Don’t forget to consider additional maintenance and safety upgrades for the best possible bathing environment.