
Creating a safe and productive workspace starts with the right lighting for workshops. Whether you’re tackling woodworking, electronics, sewing, or any hands-on project, proper illumination is essential for accuracy, comfort, and—most importantly—safety. Poor lighting can lead to eye strain, mistakes, and even accidents, while a well-lit environment helps you see details clearly and work efficiently.
This guide covers the essentials of workshop illumination, from understanding different types of fixtures to optimizing placement and choosing the best bulbs. If you’re also interested in improving visibility in other areas of your home, you might find inspiration in our lighting for attics article, which offers tips for safe and effective attic illumination.
Why Proper Lighting Matters in Workshop Spaces
The right lighting setup goes beyond just making things brighter. In a workshop, it directly impacts your ability to work safely and precisely. Shadows, glare, and dim corners can obscure hazards or fine details, increasing the risk of errors or injury. Good lighting design ensures that every part of your workbench and storage area is visible, reducing the chance of accidents and making tasks less fatiguing.
For those who use their workshop for extended periods, quality illumination can also help prevent headaches and eye strain. By investing in the right fixtures and bulbs, you create a more enjoyable and productive environment for all your DIY or crafting projects.
Types of Lighting for Workshops
Understanding the main categories of lighting is the first step to designing an effective setup. Each type serves a unique purpose, and combining them leads to the best results.
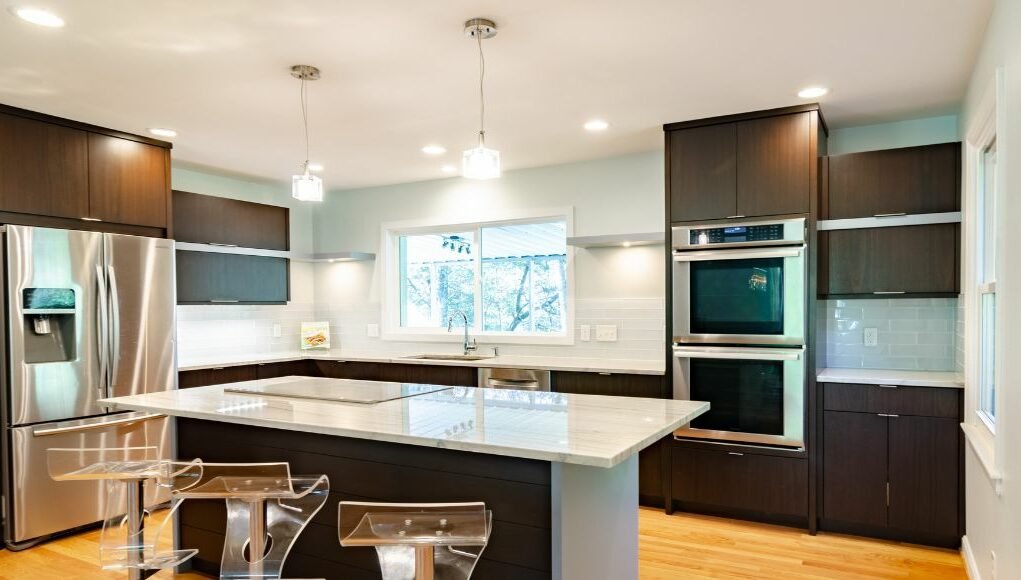
- Ambient Lighting: This is the general illumination that fills the room. Ceiling fixtures, fluorescent panels, or LED shop lights are common choices. Ambient light ensures you can navigate the space safely.
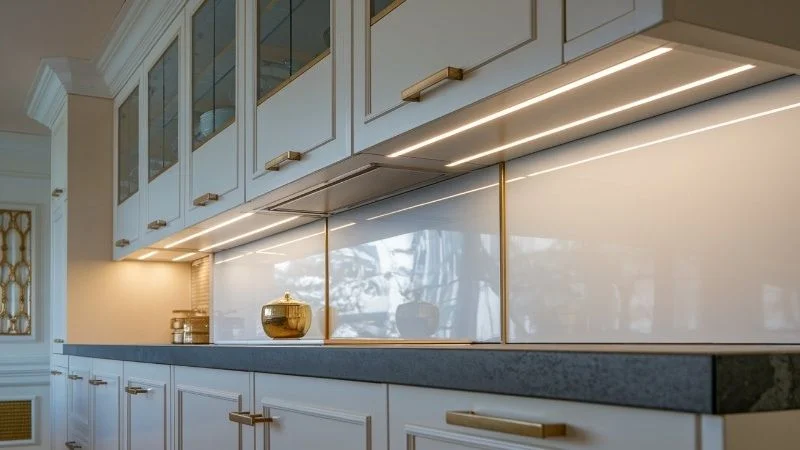
- Task Lighting: Focused light for specific work areas, such as over a workbench, sewing machine, or tool station. Adjustable desk lamps, under-cabinet lights, or LED strips are ideal for these zones.
- Accent Lighting: While less critical for safety, accent lights can highlight storage areas or display shelves and add to the workshop’s overall atmosphere.
For a deeper dive into the differences between these categories, see this overview of basic types of lighting.
Choosing the Best Fixtures and Bulbs
Selecting the right fixtures and bulbs is crucial for maximizing visibility and minimizing shadows. Here are some practical tips:
- LED Shop Lights: These are energy-efficient, long-lasting, and provide bright, even illumination. They’re ideal for overhead ambient lighting.
- Under-Cabinet Lights: Perfect for illuminating work surfaces without casting shadows from your body or tools.
- Adjustable Task Lamps: Flexible arms and directional heads let you focus light exactly where it’s needed, which is especially helpful for fine or detailed work.
- Motion Sensor Night Lights: These can be placed near entryways or storage areas for added safety when entering the workshop in low light.
Placement Strategies for Effective Workshop Illumination
Even the best fixtures won’t deliver results if they’re not positioned thoughtfully. Here are some placement strategies to maximize the effectiveness of your lighting for workshops:
- Overhead Lighting: Install fixtures directly above main work areas to minimize shadows. Even spacing helps distribute light evenly.
- Task Lighting: Place adjustable lamps or under-cabinet strips close to the work surface, but outside your direct line of sight to avoid glare.
- Wall-Mounted Fixtures: These can supplement ceiling lights, especially in larger workshops or garages.
- Entry and Pathway Lighting: Use motion sensor lights near doors or storage zones to prevent accidents when entering or moving around.
If you’re looking to optimize lighting in other parts of your home, our lighting for garages guide provides additional tips for brightening up storage and work areas.
Safety Considerations When Installing Workshop Lighting
Safety should always be your top priority when upgrading or installing new fixtures. Here are some important points to keep in mind:
- Electrical Safety: Always turn off the power at the breaker before working on wiring. If you’re unsure, consult a licensed electrician.
- Fixture Ratings: Use fixtures and bulbs rated for your workshop’s environment, especially if there’s dust, moisture, or temperature fluctuations.
- Secure Mounting: Ensure all fixtures are firmly attached to prevent them from falling or shifting during use.
- Cord Management: Keep cords and cables organized and out of walkways to prevent tripping hazards.

Energy Efficiency and Maintenance Tips
Modern LED fixtures not only provide excellent brightness but also help keep energy costs down. Here’s how to keep your workshop lighting efficient and long-lasting:
- Choose LEDs: They use less electricity and last much longer than incandescent or fluorescent bulbs.
- Clean Fixtures Regularly: Dust and debris can reduce light output. Wipe down covers and bulbs periodically.
- Replace Flickering Bulbs: Address any flickering or dimming promptly to maintain consistent illumination and avoid eye strain.
- Consider Smart Controls: Timers, dimmers, or motion sensors can help you save energy and extend bulb life.
Lighting for Different Workshop Activities
The best lighting setup often depends on the types of projects you tackle most often. Here are some tailored suggestions:
- Woodworking: Use bright, shadow-free overhead lights and supplement with task lighting at saws and benches.
- Electronics or Model Building: Opt for adjustable lamps with high color rendering (CRI) to reveal fine details and color differences.
- Sewing and Crafts: Under-cabinet strips or flexible gooseneck lamps help illuminate fabric and small parts without glare.
- Painting or Finishing: Even, diffuse light is best to avoid harsh shadows and ensure accurate color perception.
If you’re interested in lighting ideas for other living spaces, our guides on lighting for bedrooms and lighting for living rooms offer practical advice for comfort and safety throughout your home.
Frequently Asked Questions
What is the ideal brightness level for a workshop?
Aim for at least 70–100 lumens per square foot for general workshop areas. Task zones may require even more, especially for detailed work. Using multiple light sources helps achieve even coverage.
Are LED lights better than fluorescent for workshops?
Yes, LED fixtures are generally more energy-efficient, last longer, and offer instant full brightness. They also produce less heat and are available in a variety of color temperatures to suit different tasks.
How can I reduce shadows on my workbench?
Combine overhead ambient lighting with targeted task lights positioned at different angles. Under-cabinet strips and adjustable lamps help minimize shadows caused by your hands or tools.
Is it safe to install workshop lighting myself?
If you’re comfortable with basic electrical work and follow safety protocols, many lighting upgrades can be DIY projects. However, for complex wiring or if you’re unsure, it’s always best to consult a licensed electrician.
Conclusion
Investing in the right lighting for workshops transforms your workspace into a safer, more productive environment. By combining ambient, task, and accent lighting, choosing efficient fixtures, and planning thoughtful placement, you can reduce eye strain, prevent accidents, and enjoy your DIY or crafting projects to the fullest. Remember to consider your specific needs and activities, and don’t hesitate to consult professionals for installation if needed. With a well-lit workshop, every project becomes easier, safer, and more enjoyable.