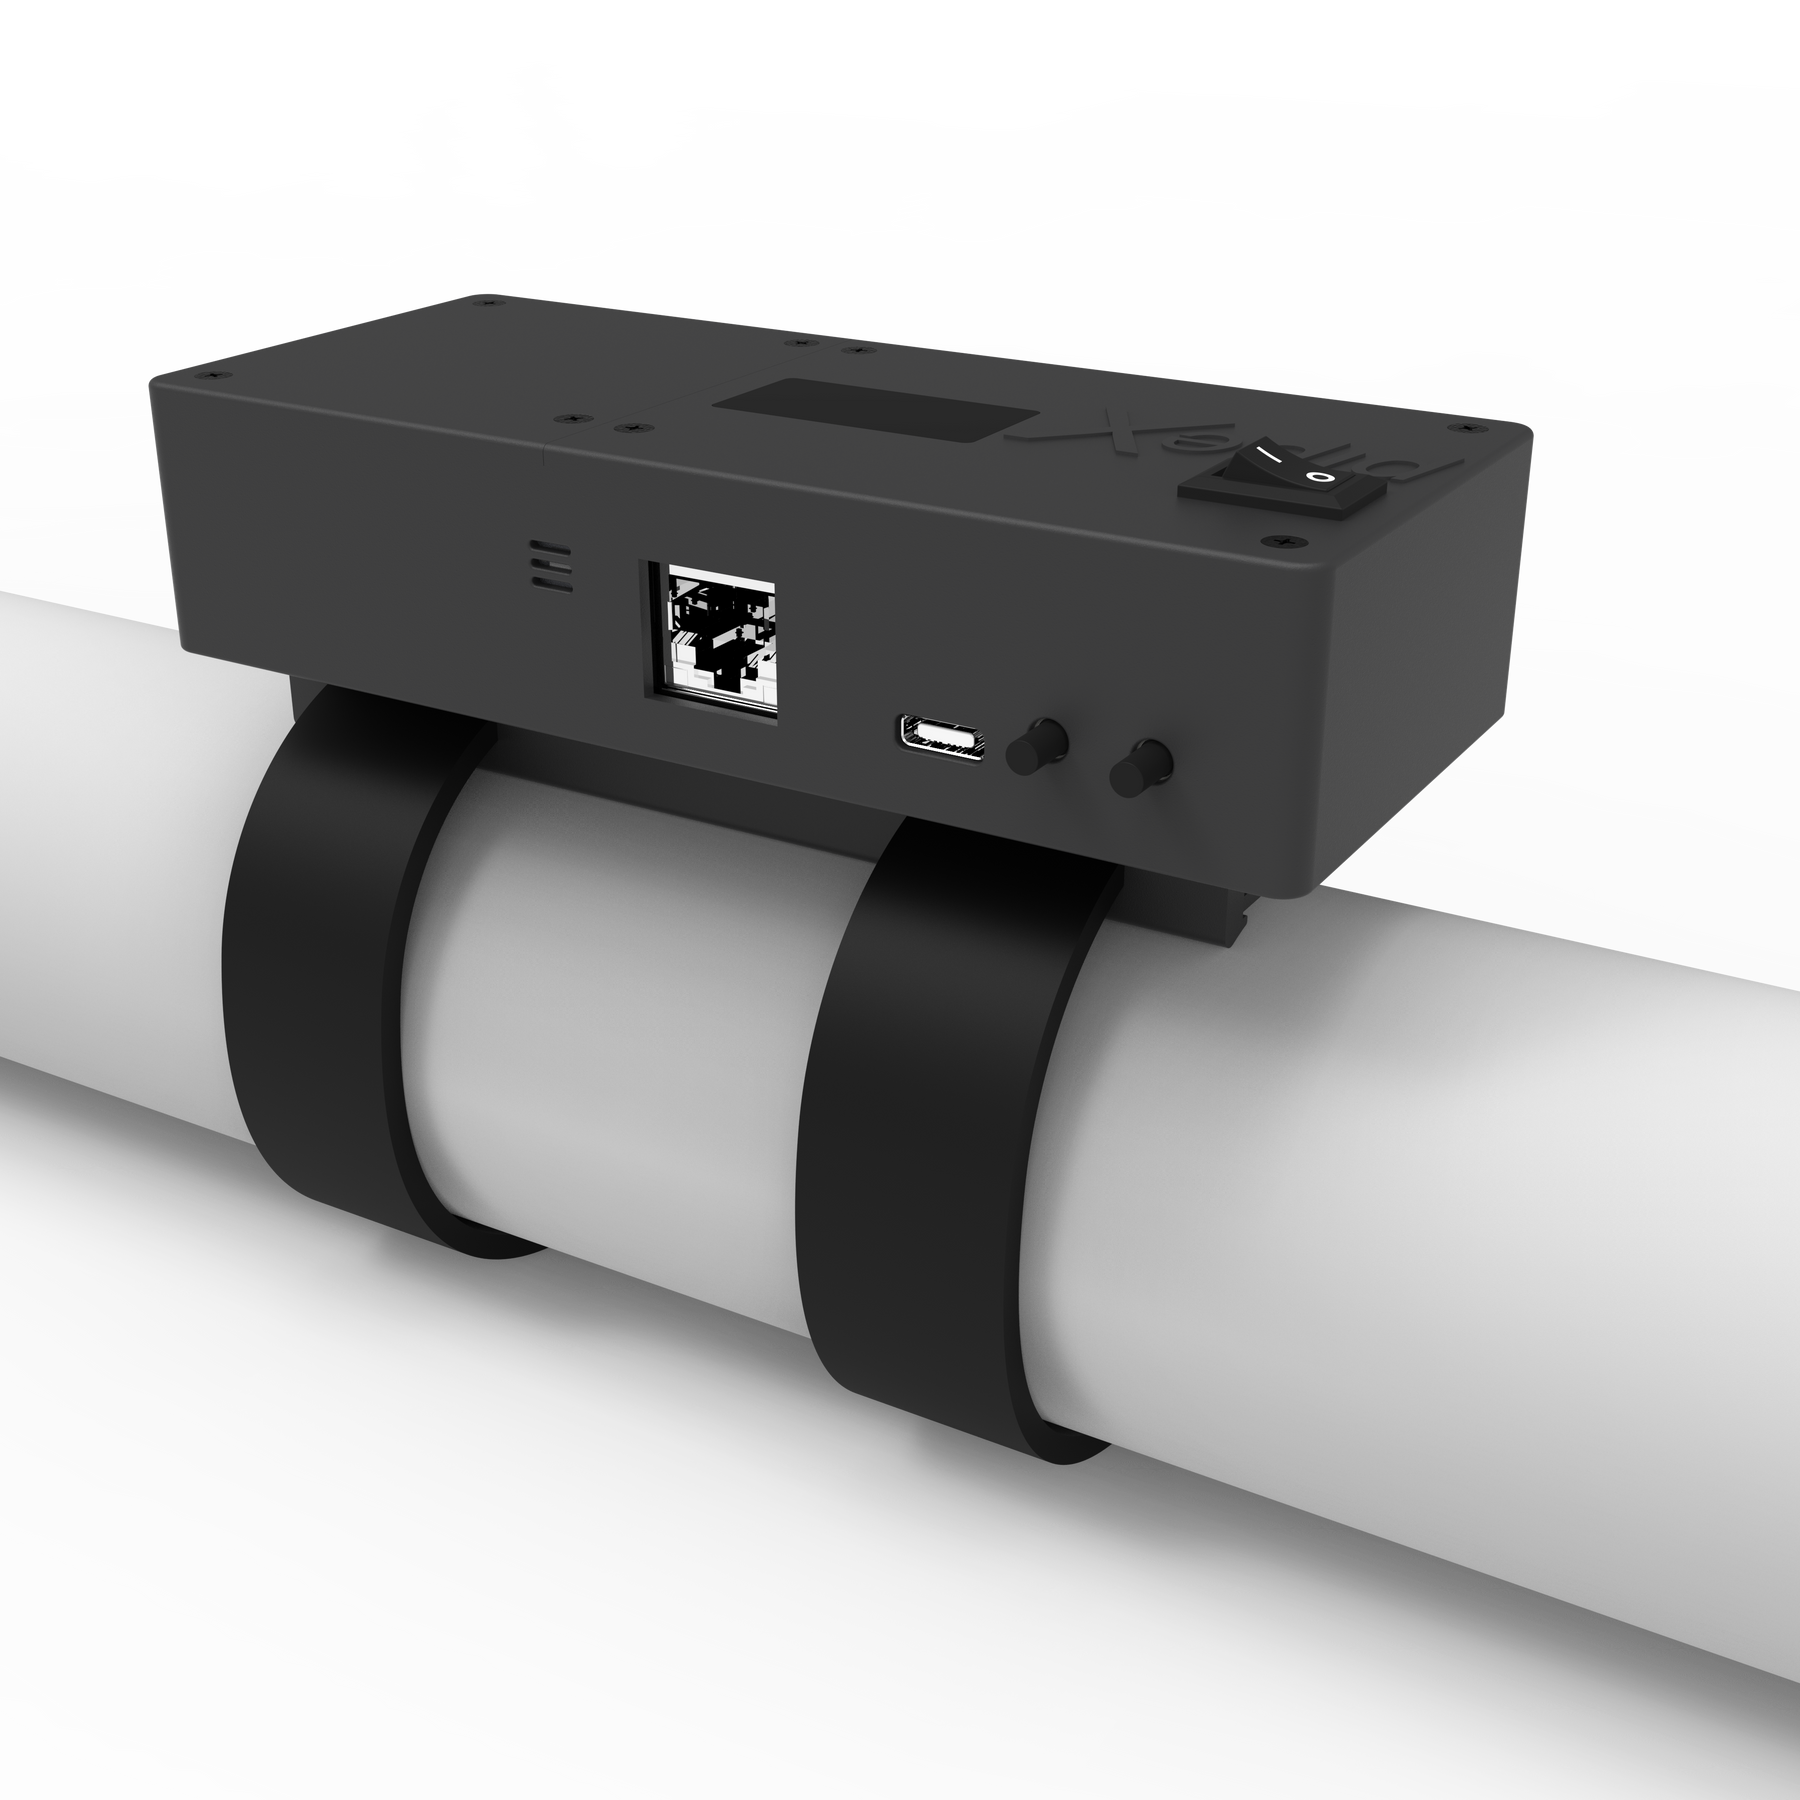
Sealing a pool PVC pipe leak can seem like a daunting task, especially if you are a homeowner trying to maintain your pool. However, with the right guidance and technology, sealing these leaks can be both efficient and straightforward. In this guide, we aim to provide detailed insights on how to seal pool PVC pipe leak and ensure your pool stays in top shape.

Understanding Pool PVC Pipe Leaks
Before delving into the actual sealing process, its crucial to understand what causes these leaks and the best ways to identify them. Pool PVC pipes are essential for maintaining clear and clean water. Over time, however, they can develop leaks due to various reasons such as wear and tear, ground movement, or accidental damage.
Common Causes of Pool PVC Pipe Leaks
- Wear and Tear: Over time, the constant movement of water and chemicals can weaken the PVC material.
- Ground Movement: Shifts in the soil can put pressure on the pipes, causing them to crack.
- Accidental Damage: Activities around the pool area can lead to unintended damages.
Identifying a Pool PVC Pipe Leak
Detecting a leak early can save you from extensive damage and hefty repair costs. Here are some signs to watch out for:
- Lower water levels than usual
- Wet spots around the pool area
- Air bubbles in the pool jets
- Noticeable drops in water pressure

Tools and Materials Needed
Before starting the repair process, gather the following tools and materials:
- PVC pipe cutter
- PVC primer and cement
- Repair couplings
- PVC repair putty
- Emery cloth or sandpaper
- Clean cloth

Step-by-Step Guide to Sealing a Pool PVC Pipe Leak
Step 1: Turn Off the Pool Pump
Firstly, ensure that the pool pump is turned off to prevent any water flow through the pipes during the repair process.
Step 2: Locate the Leak
Using the signs discussed earlier, identify the exact location of the leak in the PVC pipe.
Step 3: Cut Out the Damaged Section
Use a PVC pipe cutter to remove the damaged section of the pipe. Ensure that the cuts are clean and straight.
Step 4: Prepare the Pipe Ends
Smooth the edges of the pipe using emery cloth or sandpaper. Clean the ends thoroughly with a clean cloth to remove any debris.
Step 5: Apply PVC Primer and Cement
Apply PVC primer to the ends of the pipe and the inside of the repair couplings. Follow with a layer of PVC cement.
Step 6: Connect the Repair Couplings
Immediately place the repair couplings onto the pipe ends, ensuring they are securely fitted. Hold them in place for a few seconds to allow the cement to set.
Step 7: Allow the Cement to Cure
Give the cement adequate time to cure as specified by the manufacturer. This usually takes about 24 hours.
Additional Repair Methods
Using PVC Repair Putty
If the leak is minor, you can use PVC repair putty as a temporary fix. This putty can be applied directly to the leak and will harden, creating a seal.
Using a Repair Clamp
For quick fixes, a repair clamp can be strapped around the damaged section of the pipe, effectively stopping the leak.
Maintenance Tips to Prevent Future Leaks
Preventive measures can significantly reduce the risk of future leaks:
- Regularly inspect your pool’s plumbing for any signs of wear or damage.
- Maintain balanced water chemistry to prevent damage to the pipes.
- Avoid placing heavy objects near the pool area where pipes are located.
When to Call a Professional
While minor leaks can be repaired on your own, more substantial issues may require professional intervention. If you are unsure about the severity of the leak or the repair process, its best to consult a professional.
Conclusion
Sealing a pool PVC pipe leak may seem intimidating, but by following these steps and utilizing the right materials, you can effectively manage and fix the issue. Proper maintenance and early detection are key to keeping your pool in great condition.
For more extensive information and professional services, feel free to visit Apex Pros or Supreme Pipe. For additional home improvement tips and resources, check out our [home repairs improve](https://rebuildingtogethernb.org/how-home-repairs-improve-quality-of-life/) and [pool design](https://rebuildingtogethernb.org/we-all-bring-loads-of-pool-design/) guides.
FAQs
1. How long does it take for PVC cement to cure?
The curing time typically ranges from 24 to 48 hours, depending on the manufacturer’s instructions.
2. Can I use regular PVC cement for pool pipes?
Yes, regular PVC cement is suitable for pool pipes, but ensure it is rated for the pressure your pool system operates at.
3. What should I do if the leak persists after repair?
If the leak continues despite following all repair steps, it’s best to consult a professional to assess and fix the issue.
As an Amazon Associate, I earn from qualifying purchases.

