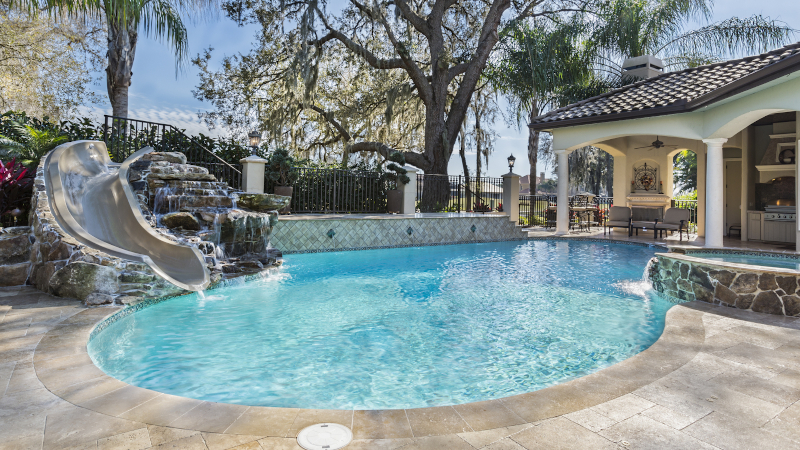
Building a pool in your backyard is an exciting home improvement project. But before you can dive in, you’ll need to ensure the ground is level. This is crucial to the stability and longevity of your pool. In this comprehensive guide, we’ll walk you through the steps on how to level ground for pool and provide tips for achieving a smooth and even surface.

Why Level Ground is Important for Your Pool
Level ground is essential for preventing structural damage to your pool. An uneven surface can cause water to gather on one side, exert undue pressure on the pool walls, and eventually lead to costly damages. Additionally, a level ground ensures safety, preventing any accidental slips and falls.

Steps to Level Your Ground for a Pool
1. Choose the Right Location
The first step is to choose a suitable location for your pool. Ensure it’s away from trees, roots, and underground utilities. Measure the area to know the exact dimensions.
2. Gather Your Tools
You’ll need shovels, a rake, a level, and possibly a sod cutter. If you’re dealing with a large area, consider renting a backhoe.
3. Remove Grass and Debris
Clear the area of any grass, rocks, and debris. This will give you a clean slate to work with.
4. Check for Slope
Use a level to check for any slopes or high spots. Mark these areas so you know where to focus your efforts.
5. Begin Digging
Start digging in the high areas, removing soil until the ground is level. It’s important to check your progress frequently with your level tool.
6. Smooth and Compact the Soil
Once you’ve achieved a level surface, use a rake to smooth out the soil. Compact it with a tamper to ensure it’s firm and stable.
7. Add a Layer of Sand
Spread a layer of sand over the area to create a smooth base for your pool. Use a rake to distribute it evenly and a level to ensure it’s flat.
8. Final Check
Before setting up your pool, do a final check to ensure the ground is perfectly level. Make any necessary adjustments.

Common Mistakes to Avoid
It’s important to avoid common mistakes like neglecting to check for slopes or not compacting the soil adequately. These can lead to an unstable pool structure.
Benefits of Doing It Yourself
Learning how to level ground for pool yourself can save you money and allow you to customize the process to fit your specific needs. Plus, it’s a rewarding project that adds value to your home.
Potential Cost Savings
Involving professionals can be costly. By doing it yourself, you can save a significant amount on labor costs.
Necessary Tools for the Job
Here is a list of useful tools you might need:
- Shovel
- Rake
- Level
- Tamper
- Sand
- Backhoe (optional)
Choosing the Right Sand
When selecting sand, choose a fine, clean, and angular variety. This type of sand is stable and provides a solid base for your pool.
Expert Advice
Experts recommend taking your time and being thorough at each step. Rushing can lead to an uneven surface and complications down the line.
Conclusion
In conclusion, learning how to level ground for pool is an essential part of the pool installation process. By following these steps, you can ensure a smooth and stable surface for your pool, providing years of enjoyment for you and your family.
FAQs
1. How long does it take to level the ground for a pool?
The time it takes can vary depending on the size of the area and the tools you have available. On average, it can take a weekend to complete.
2. Can I use a tarp instead of sand?
While a tarp can provide some protection, it’s not as effective as sand. Sand offers better stability and longevity for your pool structure.
3. Is it necessary to remove grass before leveling?
Yes, removing grass and debris is essential to ensure a smooth and level surface for your pool.
As an Amazon Associate, I earn from qualifying purchases.

