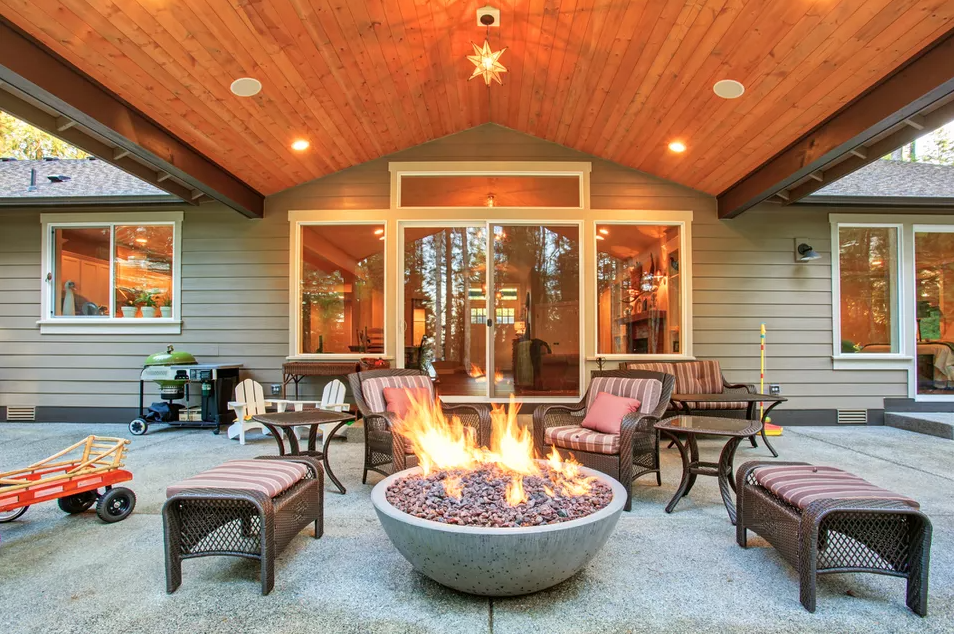
Creating a beautiful and functional outdoor space is a goal for many homeowners, and one of the best ways to achieve this is by installing paver steps leading to your patio. Not only do these steps add an element of elegance, but they also provide a safe and durable pathway. In this article, we will guide you through the process of how to build paver steps to patio, ensuring that your project is met with success and satisfaction.
Our discussion will cover everything from planning and materials to execution and maintenance, so whether you’re a seasoned DIY enthusiast or a complete novice, you’ll find the information you need to get started.

Planning Your Paver Steps
Design Considerations
Before you begin, it’s important to consider the design of your paver steps. Think about the layout, the number of steps needed, and the overall aesthetic you wish to achieve. Pay attention to the surrounding landscape and how the steps will integrate with your existing patio.
Measuring and Marking
Accurate measurements are crucial for the success of your project. Use a measuring tape and stakes to mark the outline of your steps, ensuring that each step is uniform in size.

Gathering Materials and Tools
Essential Materials
- Concrete pavers
- Gravel
- Sand
- Landscape fabric
- Paver edging
Necessary Tools
- Shovel
- Rake
- Tape measure
- Level
- Rubber mallet

Preparing the Ground
Clearing the Area
Start by clearing the area where the steps will be installed. Remove any grass, rocks, and debris to create a smooth and even surface.
Excavation
Excavate the area to a depth of about 6-8 inches, depending on the size of your pavers. Ensure the excavation is level and consistent.
Installing the Base
Adding Gravel
Add a layer of gravel to the excavated area, about 4-6 inches deep. This will provide a stable base for your paver steps.
Compacting the Gravel
Use a tamper or plate compactor to compact the gravel, ensuring it is level and firm.
Setting the Pavers
Adding Sand
Spread a 1-inch layer of sand over the compacted gravel. This will help to secure the pavers in place.
Placing the Pavers
Begin laying the pavers, starting from the bottom step. Use a level to ensure each paver is even, and a rubber mallet to gently tap them into place.
Finishing Touches
Adding Edging
Install paver edging along the sides of the steps to keep them securely in place.
Filling the Joints
Fill the joints between the pavers with sand, using a broom to sweep the sand into the gaps.
Maintaining Your Paver Steps
Regular maintenance is key to keeping your paver steps looking great for years to come. Sweep the steps regularly and address any weed growth or settling issues promptly.
Conclusion
Building paver steps to your patio is a rewarding project that enhances the beauty and functionality of your outdoor space. By following this comprehensive guide, you’ll be able to create a set of steps that are both aesthetically pleasing and durable.
FAQs
1. Can I build paver steps without professional help?
Yes, with careful planning and the right materials and tools, you can successfully build paver steps on your own.
2. What type of pavers should I use?
Concrete pavers are a popular choice due to their durability and variety of styles.
3. How long will it take to complete this project?
The timeline will vary depending on the size of your project and your experience level, but typically it can be completed in a few weekends.
For more details on DIY pathways and patios, visit this link.
To learn more about home repairs and improvements, check out our articles on home repairs, power generators, and lawsuit loans.
As an Amazon Associate, I earn from qualifying purchases.

